Craft Your Own Photo Ornaments, Spreading Seasonal Cheer with DIY Keepsakes
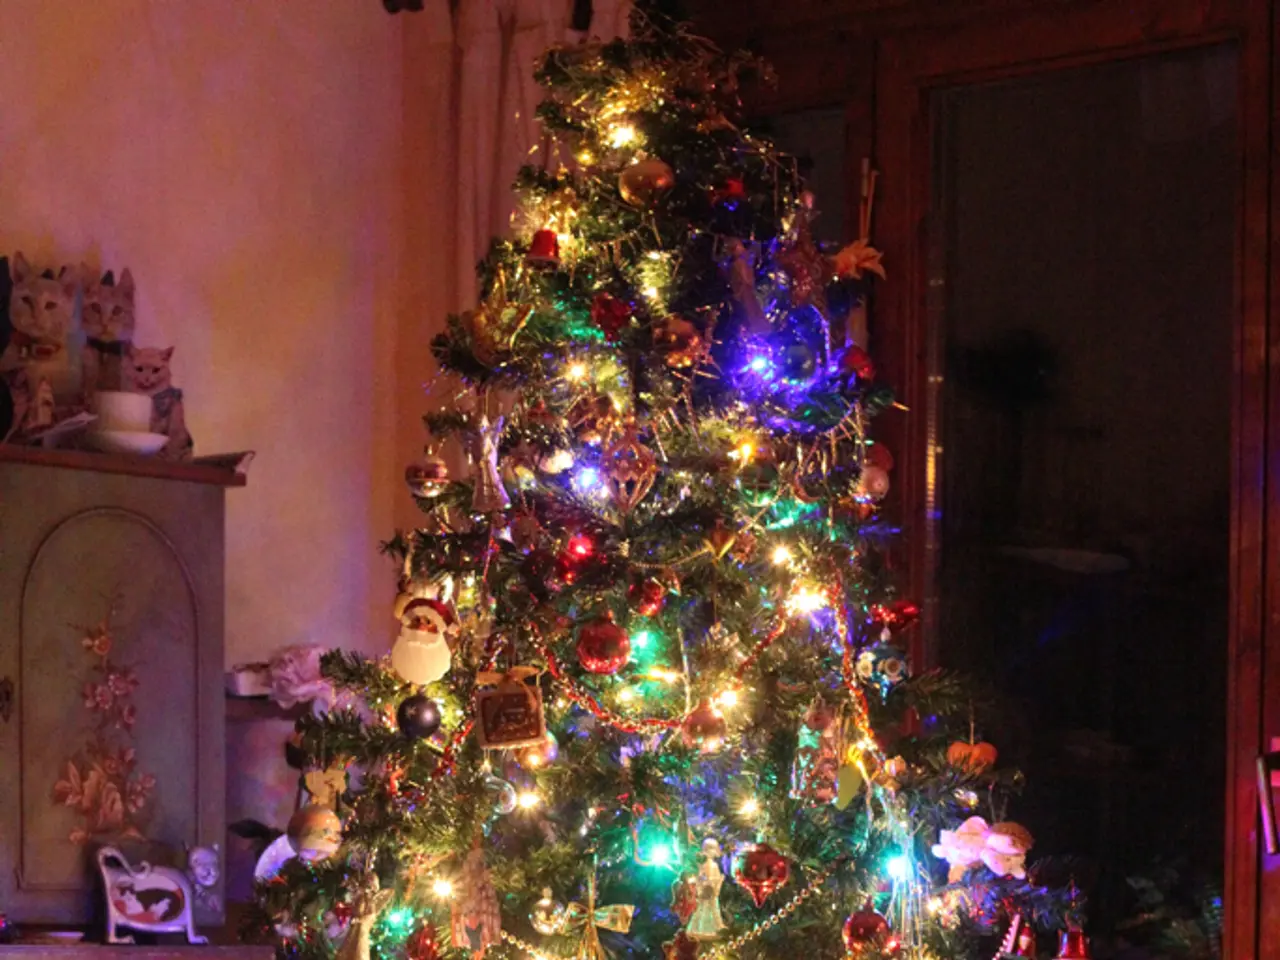
This holiday season, add a touch of sentimentality to your Christmas tree decorations with these easy-to-make DIY photo ornaments. With just a few simple materials and steps, you can transform flat wooden rounds, personal photos, and Mod Podge into unique ornaments that capture cherished memories.
### Materials Needed: - Flat wooden rounds - Personal photos or prints - Mod Podge - Green cardstock (optional) - Scissors - Brushes - Glue or adhesive for hanging (e.g., string or ornament hook) - Decorative items like bows or small ornaments (optional)
### Steps:
1. Prepare the Pictures: Print your photos in the desired size to fit the wooden rounds. Cut out the images using scissors or a craft cutter.
2. Prepare the Wooden Rounds: Lightly sand the wooden rounds to smooth out any rough edges (optional).
3. Apply Mod Podge: Use a brush to apply a thin layer of Mod Podge onto the wooden round. Place the photo face down onto the Mod Podge-covered area, ensuring it is centered. Gently rub the photo to ensure it adheres evenly and to remove any air bubbles.
4. Add Additional Coats of Mod Podge: Apply additional thin coats of Mod Podge on top of the photo to seal and protect it. Allow each coat to dry completely before adding the next.
5. Add Green Cardstock (Optional): Cut a piece of green cardstock slightly larger than the wooden round. Apply a thin layer of Mod Podge to the back of the wooden round and attach the cardstock, ensuring it is centered and smooth.
6. Seal and Finish: Allow the final coat of Mod Podge to dry completely. Once dry, inspect the ornament for any imperfections and apply additional coats if necessary.
7. Add Hanging Mechanism: Use glue to attach a string or ornament hook to the top of the wooden round, ensuring it is secure and can hold the weight of the ornament.
8. Decorate (Optional): Add small bows or other decorative items to the top or around the ornament for extra flair.
9. Final Touches: Your DIY photo ornament is now ready to hang on a tree or use as a gift.
### Tips: - Ensure the photo is reversed if you're using a method like transferring an image where the orientation matters. - Keep the coats of Mod Podge thin to avoid a thick, sticky finish. - Experiment with different shapes and sizes of photos and wooden rounds for unique looks. - The project can be used to create a tree filled with tiny moments from the past year.
These DIY photo ornaments make meaningful gifts for everyone on your list, from grandparents who will appreciate seeing their grandchildren's smiling faces to newlyweds capturing the magic of their first holiday together. Mini wreaths are popular this holiday season, and this project puts a unique twist on the trend, allowing you to create a set of matching ornaments that bring a cohesive, handmade touch to a festive theme.
For more Christmas ornament ideas, consider crafting candy canes, cookie cutters, crochet angels, crochet bells, cross stitch designs, DIY gnomes, DIY snow globes, mandalas, metallic keys, origami, poinsettias, polymer clay creations, temporary tattoos, washer stars, wood bead ornaments, wood bead snowmen, wood bead stars, wood slice decorations, and yarn-wrapped ornaments. Happy crafting!
TheseDIY ornaments can also be a perfect addition to your home-and-garden decor, transforming plain wooden rounds into charming home decor pieces. Showcase cherished memories using home-and-garden themed photos for a seasonal touch, such as autumn leaves, blooming flowers, or the coastal scenery. With personalized home decor, you can elevate your lifestyle by surrounding yourself with items that hold sentimental value.

