Crafting a Stunning Wrist Corsage: A Step-by-Step Guide
DIY Wrist Corsage: A Step-by-Step Guide
Creating a stunning wrist corsage for your special occasion has never been easier. Here's a comprehensive guide to help you make a beautiful corsage that's perfect for proms, weddings, and other special events.
Materials Needed
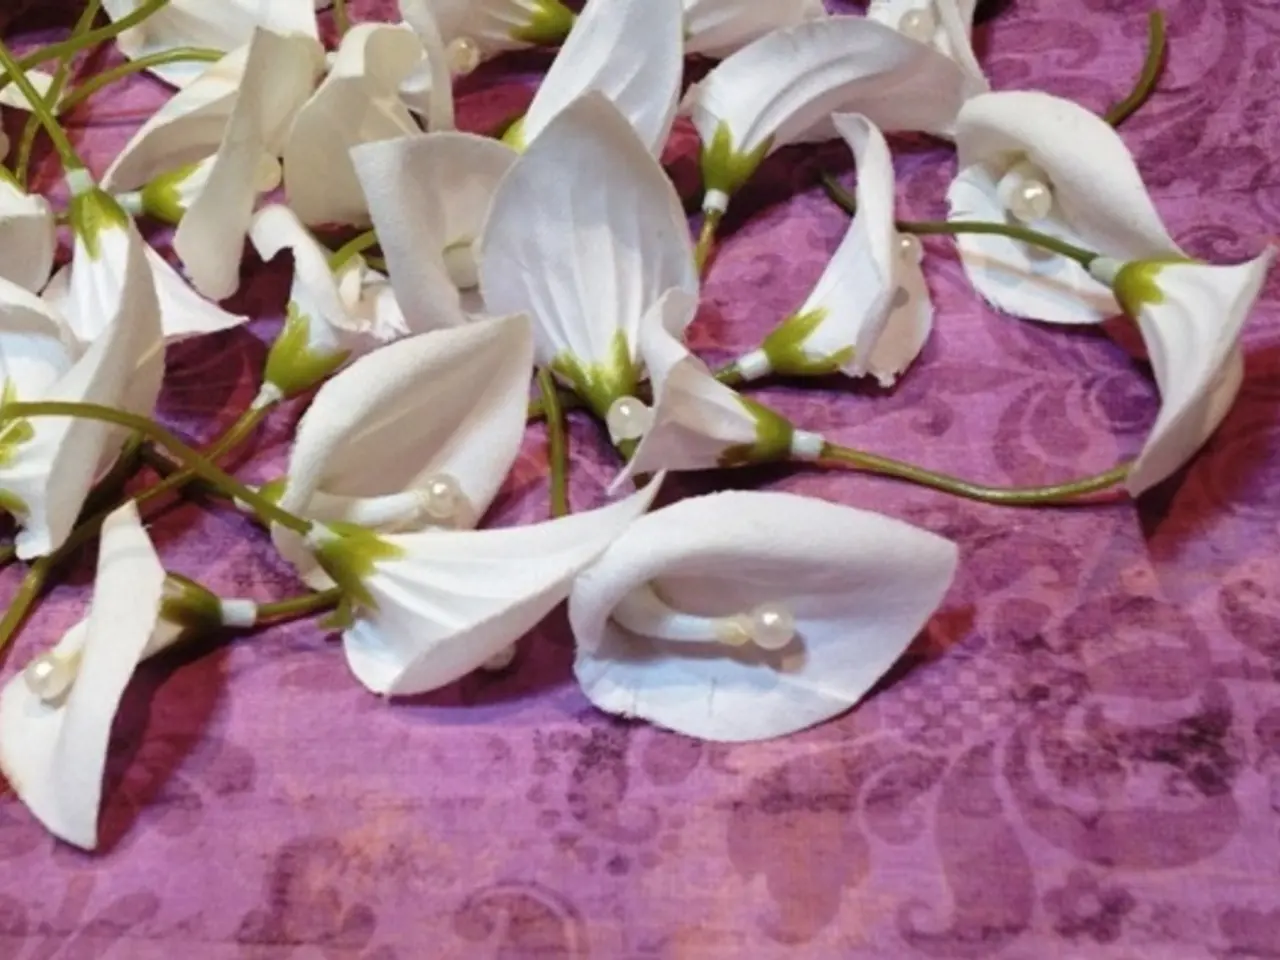
- Fresh flowers (e.g., chrysanthemums, gerber daisies, roses, orchids)
- Filler foliage
- Floral tape
- Floral wire (optional)
- Scissors
- A wristband or corsage bracelet base
- Ribbon for decoration (one wider and one narrower)
- Greenery or smaller flowers
Preparing the Flowers
Trim the flower stems to about 1-2 inches and remove any unnecessary leaves or thorns. If you're using a wristband that doesn't require wire, simply secure the flower stems onto the band with floral tape or glue. Alternatively, wire each stem by inserting floral wire at the base, wrapping it securely, then attaching it to the wristband by twisting the wires or taping them firmly.
Adding Greenery and Fillers
Arrange small greenery sprigs or filler flowers around the flowers to add volume and contrast. Secure these with floral tape or wire.
Wrapping with Ribbon
Cover all the stems and wiring with the wider ribbon, wrapping it neatly around the wristband and tying a knot or securing it with glue or pins. Run a 36-inch long piece of the wider ribbon through the loops so that the outer edges of the loops are covered, while the inside edges are exposed.
Attaching the Corsage
Place the corsage on the metal plate of the wristlet and bend the tabs so they grip onto the corsage. Insert two of the tabs in the loops of the wire mechanism you created and pinch the loops to lock the tabs. Wrap two of the tabs around the leaf foliage that you added to the corsage's back.
Final Touches
Once the corsage is held by the tabs, wrap the 36-inch wide ribbon around the metal plate and the front of the corsage. Tie a knot and a bow in the front so the corsage is absolutely secure and will not fall off the wristlet. Accent the individual flowers with foliage or smaller flowers, like the alstroemeria. Finish your corsage by adding leaves and any other desired foliage to the back.
Tips and Tricks
- Main flowers used in wrist corsages should be relatively flat to avoid bulkiness on the wrist.
- Overdoing the foliage can make the wrist corsage larger and inconvenient during the event.
- Wrist corsages are easy to take on and off without pinning.
- For a more intricate design, you can wire smaller flowers directly onto the primary flower stems with floral tape.
- If you're using orchids, follow the specific instructions provided earlier in this article.
With these steps, you'll be able to create a beautiful and unique wrist corsage that will make your special occasion even more memorable. Happy crafting!
[1] [Source 1] [2] [Source 2] [3] [Source 3] [4] [Source 4] [5] [Source 5]
Consider elevating your special occasion with a curated lifestyle accessory, such as a matching home-and-garden bouquet and a fashion-and-beauty ribbon bag to complement your DIY wrist corsage. Choose a stylish and vibrant pattern to tie your wrist corsage and accentuate your overall look.


