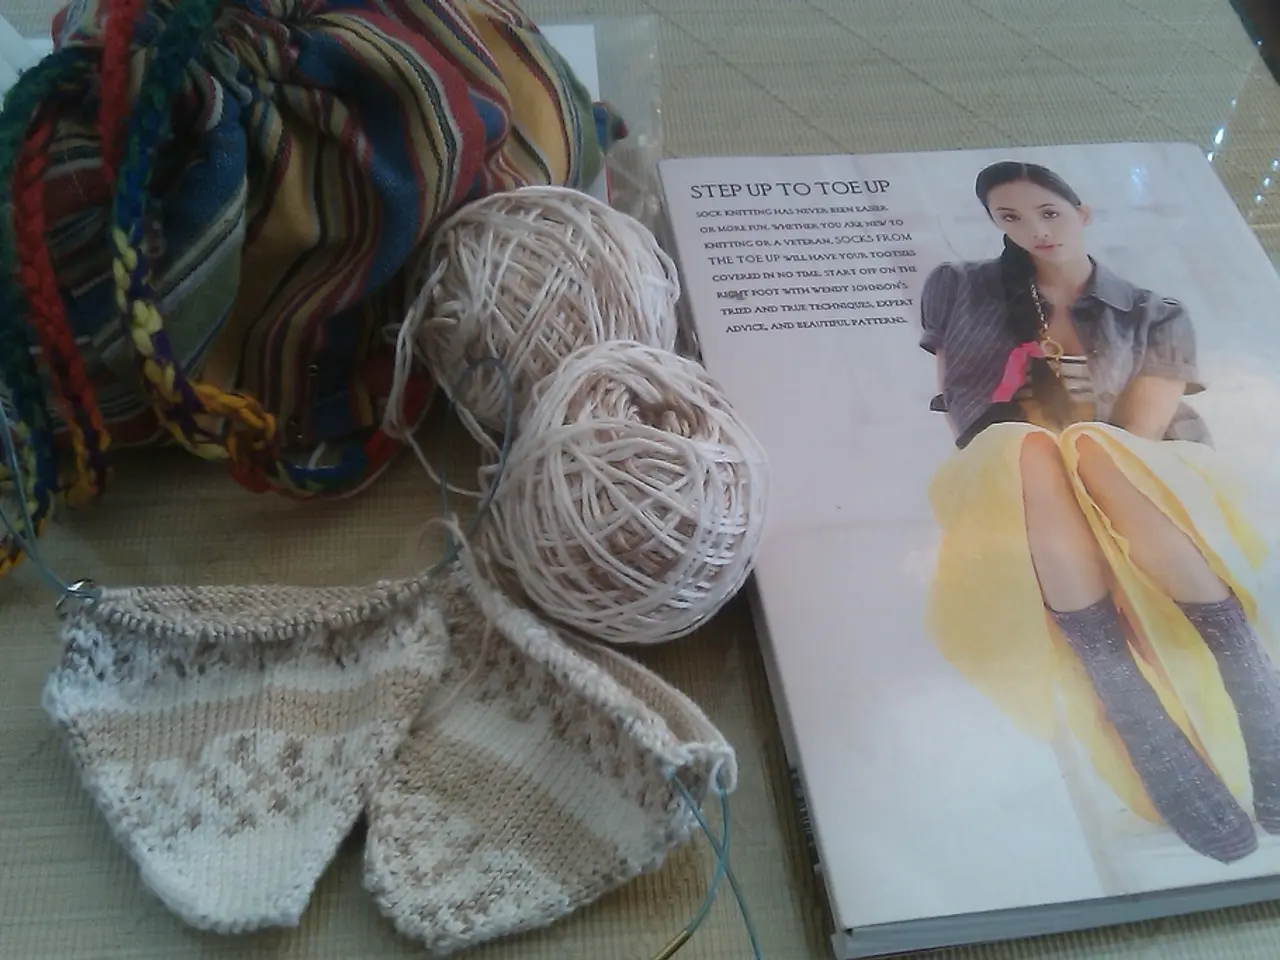
Create Your Personalized Bookmark with Fringe: Do-It-Yourself Guidelines and Inspiration
Making a bookmark with a tassel is a simple and fun craft project that adds aesthetic appeal, ease of use, and personalization to your reading experience. This article provides a step-by-step guide to creating a bookmark with a tassel, using materials such as cardstock, leather, plastic, or wood for the base, and embroidery thread, yarn, cotton, or silk thread for the tassel.
Step 1: Prepare a Base for Your Bookmark
Start by cutting a piece of sturdy paper, cardstock, or thin cardboard into the desired size and shape for your bookmark. Punch a hole near the top center of the bookmark using a hole punch or needle.
Step 2: Make a Tassel
Cut a piece of thread or yarn to the desired length for the tassel, usually around 12 inches. Wrap the thread or yarn several times around your fingers or a small piece of cardboard, tie one end tightly to form a loop, and cut the opposite side to free the tassel strands.
Step 3: Secure the Tassel
- Gather several strands of thread or yarn of the same length and wrap them around the gathered thread about 10 to 15 times.
- Secure the tassel by tying another piece of thread or yarn around the wrapped strands just below the top, pulling the knot tight enough to hold the wraps in place without unraveling them.
- Cut the bottom ends of the wrapped strands evenly to create a uniform bottom edge.
Step 4: Attach the Tassel to the Bookmark
Create a hole at the top of the bookmark with a hole punch and thread the tassel through the hole, securing it with a knot.
Step 5: Decorate the Bookmark (Optional)
Personalize your bookmark by decorating the base with drawings, stickers, or messages using markers, watercolor paint, or any other desired decorative items.
Tassels on bookmarks provide aesthetic appeal, enhance visibility, and help readers quickly locate their pages. They also serve as a decorative accent that reflects your style or theme. This simple DIY technique allows you to customize bookmarks not only for personal use but also as gifts or craft projects.
To keep the bookmark dry, store it in a dry place and avoid using it when drinking liquids. If it gets wet, dry it gently and avoid bending. Regularly inspect the bookmark for signs of wear and tear, and make any necessary repairs with glue or fresh thread.
With these steps, you can create a unique and functional bookmark with a tassel that adds a colorful, tactile element to your reading experience. Happy crafting!
- To add a handmade watercolor touch to your bookmark, decorate the base with watercolors and let the design dry before securing the tassel.
- Enhance your home-and-garden decor or lifestyle aesthetic by displaying a collection of handmade, tasseled bookmarks on a small tray or hanging them as an artwork.
- For a more sophisticated look, choose leather, wood, or canvas as the base material for your tasseled bookmark, making it an attractive addition to your book collection or a thoughtful personalized gift.


